Sign In
Create an account and enjoy all the benefits of HAR.com!
Sign In
Sign in using social account
Good morning everyone,
Welcome back to Update #5 of my Daily Eviction Diary, where I document an actual eviction case as it happens — every legal step, real document, and real-world detail that brings a case from notice to possession.
So far, we’ve:
Talked with the owner and secured management authority (Update #1)
Posted and mailed the Notice to Vacate (Update #2)
Filed the eviction with the Justice of the Peace Court (Update #3)
Presented the case and received judgment (Update #4)
Now we’ve reached the final phase — executing the Writ of Possession, the legal process that returns physical control of the property to the owner.
Once the judge grants a Judgment for Possession, the tenant has five calendar days to appeal or vacate.
This is a non-negotiable waiting period under Texas law.
If the tenant moves out voluntarily, great — I document the move-out and collect the keys.
If they remain, then on Day 6 I file for a Writ of Possession.
On the sixth day after judgment, I visit the Justice of the Peace Court to file the Request for Writ of Possession.
This document authorizes the Constable to remove the tenant and return the property to the owner.
I provide:
The Judgment for Possession
The Case Number
The Request for Writ form
The Filing Fee (usually $160–$185)
Once accepted, the clerk forwards the writ to the Constable’s Office, which takes control of the process from there.
After filing, I contact the Constable’s Civil Division to confirm receipt of the writ.
A Deputy Constable is assigned to the case and will call me to set the lockout date and time.
At this stage, communication and professionalism matter — the Constable controls the pace, and cooperation keeps the process smooth.
Once the date is confirmed, I prepare both the property and the owner for what’s coming next.
Here’s what I bring on Lockout Day:
A licensed locksmith
A copy of the Writ of Possession
A camera or phone for documentation
Trash bags and gloves (for light cleanup and safety)
A Notice of Re-Entry and Possession to post afterward
When we arrive at the property, the Constable is fully in charge.
He will first knock on the door and announce the court-ordered eviction.
If the tenant is home, the Constable allows 10–15 minutes for them to collect personal belongings and vacate peacefully.
If no one answers, or the property appears vacant, the Constable instructs the locksmith to gain entry.
Once the locksmith opens the door, everyone waits outside while the Constable performs a full inspection of the unit.
No one enters until he confirms it is safe.
The Constable then determines whether the contents inside are trash or personal property:
If it’s trash, nothing needs to be removed.
If it’s personal property, it is moved to the curb, where the tenant has one hour to retrieve it.
After that one-hour period, the Constable declares “all clear” — anything left on the curb is legally considered abandoned and free for disposal.
Only when these steps are complete does the Constable hand me the signed Writ of Possession, officially returning control of the property to the owner.
Once possession is granted:
The locksmith rekeys all exterior doors (front and back).
I check every window to ensure it’s locked — tenants sometimes leave windows unlatched to attempt re-entry later.
Finally, I post the Notice of Possession visibly on the front door.
This notice makes it clear that the owner now holds legal possession, and it warns the tenant that any attempt to re-enter will be treated as criminal trespassing — an arrestable offense.
Pro Tip: Always take a clear photo of the Notice of Possession on the door — it proves the tenant was properly notified of their post-lockout status.
Afterward, to keep the area clean and maintain positive relations with neighbors or the HOA, I often knock on nearby doors and politely let them know that items left at the curb are free to take.
This small gesture usually clears up most remaining items and helps preserve the neighborhood’s appearance.
All costs associated with the Writ of Possession — the Constable’s service fee, locksmith, and any manpower for moving items — are paid by the owner.
My professional role concludes once possession is returned and the Constable delivers the signed writ.
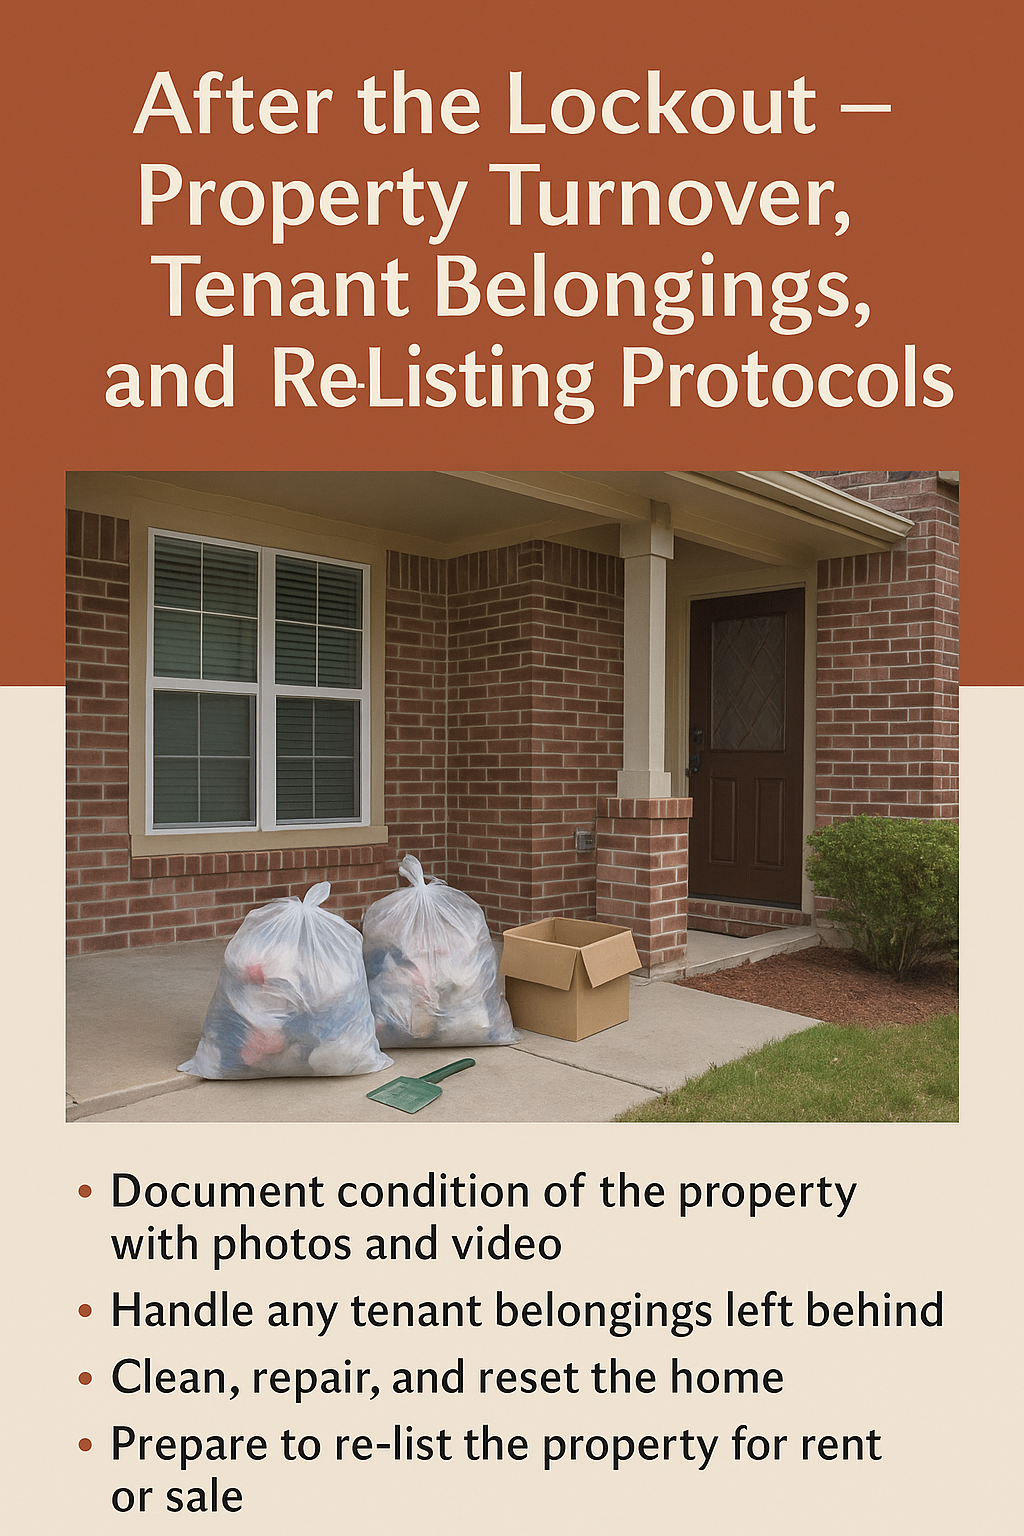
At that point, I shift back into property management mode, preparing the home for turnover.
Before leaving, I always capture:
Photos of the Constable’s vehicle at the property
The front door after rekeying
The Notice of Possession posted
Any items remaining on the curb
These images complete the paper trail and confirm that the property was lawfully secured.
Once the eviction is complete, I send the owner a short but detailed summary:
The Constable’s name and precinct
The date and time of the lockout
Photos of the property and posting
Next steps for cleaning, repairs, or re-listing
Clear communication gives the owner peace of mind and a documented closure to the case.
The Writ of Possession is the final act of the eviction process — not a moment of confrontation, but of completion.
Handled properly, it restores order, protects the owner’s rights, and maintains professionalism in the eyes of the court and community.
“The goal of eviction isn’t removal — it’s restoration of order.”
By following each legal step, documenting every detail, and keeping calm throughout, you not only close a case — you strengthen your credibility as a professional.
